Underwater Photography Courses in Cozumel
Clear water and shallow reefs make Cozumel forgiving for underwater photography. What the courses actually teach, why buoyancy matters more than the camera, and how to book a boat that lets you shoot.
Carmen Novelo · March 17, 2026 · 10 min read
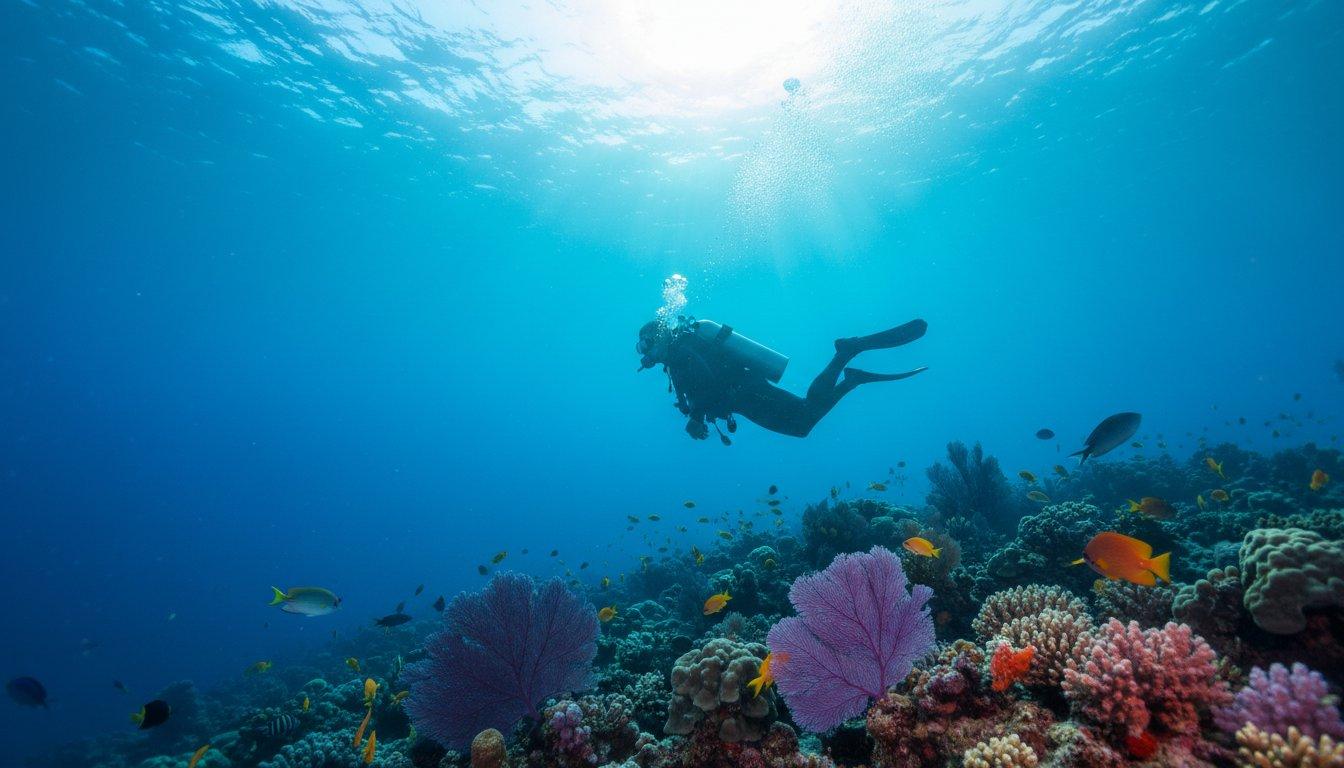
Cozumel is one of the easier places in the world to learn underwater photography. Water at 26–29°C, visibility commonly past 30 m, and shallow reefs full of large, slow, cooperative subjects.
What catches people out is not the camera. It is the current. Almost everything here is drift diving, and a moving reef is a harder photographic subject than a static one. That is why the single most valuable thing on any underwater photography course here is not a lesson about aperture — it is buoyancy.
Why Buoyancy Comes First
You cannot photograph what you cannot hold still next to.
A diver with imprecise buoyancy spends the dive drifting up and down, kicking sand off the bottom, and either bumping the reef or backing away from it. Every one of those ruins a photograph, and the last one damages coral.
A diver with good buoyancy can hover a foot from a coral head in current, hold position long enough to compose, and leave without touching anything.
This is why the Peak Performance Buoyancy specialty is worth more to a beginning underwater photographer than any camera upgrade. If you take one course before the photography one, take that.
What The Courses Cover
Both PADI and SSI run underwater photography specialties, and the content is broadly similar.
Getting close. The core lesson of underwater photography. Water between the lens and the subject costs you colour, contrast and sharpness, and no amount of editing gets it back. Almost every improvement a beginner makes comes from halving the distance.
Light and colour loss. Red disappears first, within the first few metres. By 10 m you have lost most of the warm end of the spectrum entirely and everything reads blue-green.
Strobes and video lights. How to position them to light the subject without lighting the particles between you and it — the cause of backscatter.
Filters. Useful in a specific band of depth for natural-light shooting, and pointless outside it. Below roughly 20 m there is no red left for a filter to restore, and a filter costs you light you cannot spare.
White balance. Setting it manually against a neutral surface at the depth you are shooting is the single biggest improvement available to natural-light shooters.
Composition and behaviour. Shooting slightly upward rather than down, getting eye level with the subject, and reading marine life behaviour so you can anticipate rather than chase.
What To Photograph In Cozumel
The island suits a few subject types particularly well.
Wide angle on the walls. Santa Rosa, Palancar and Columbia give you scale, structure and blue water. The visibility is what makes these work.
The splendid toadfish. The island's signature subject, tucked under coral ledges on the shallower reefs. Difficult because it sits in shadow in a recess, which is exactly the situation that teaches you lighting.
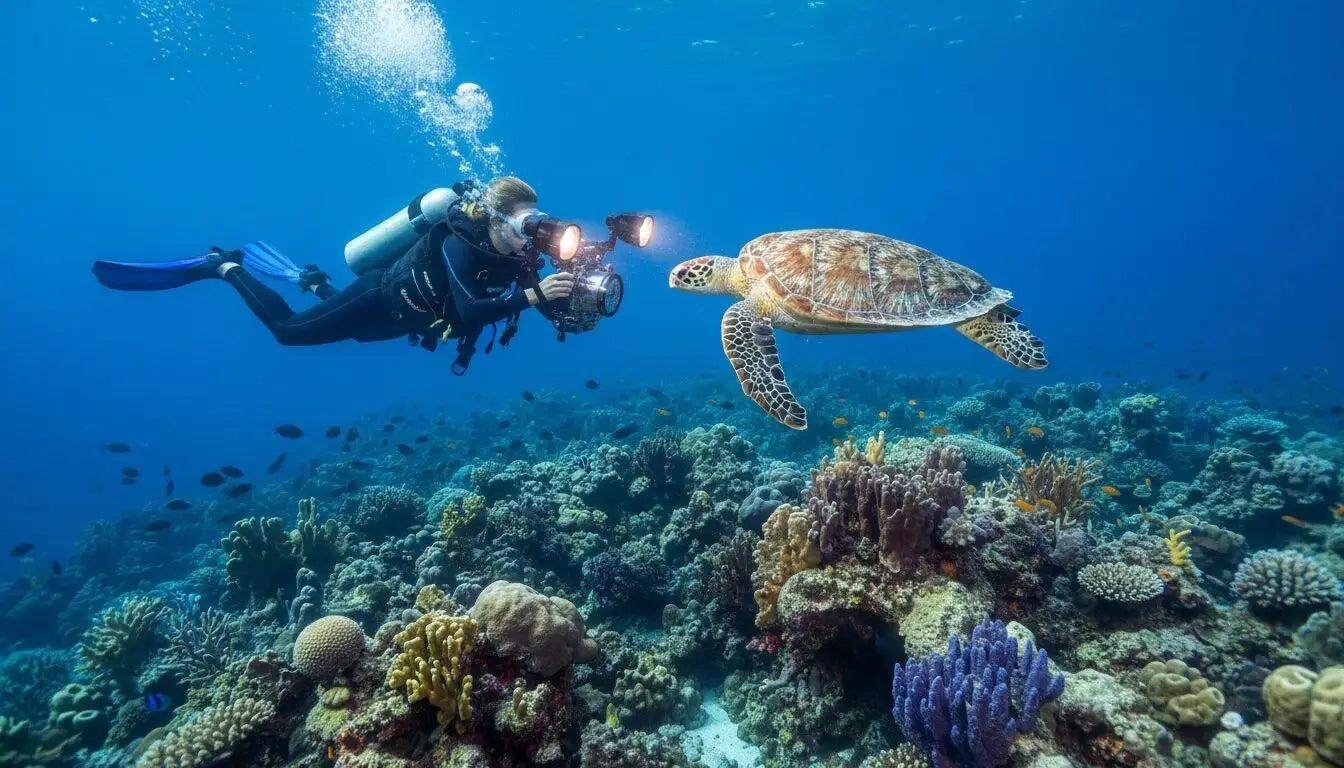
Turtles. Common in the seagrass and on the reef, and unbothered by divers who approach calmly from above and behind.
Eagle rays. Winter, in schools. Wide angle, and you get one pass rather than a second chance.
Nurse sharks resting under overhangs — a static subject in a dark recess, which is good practice.
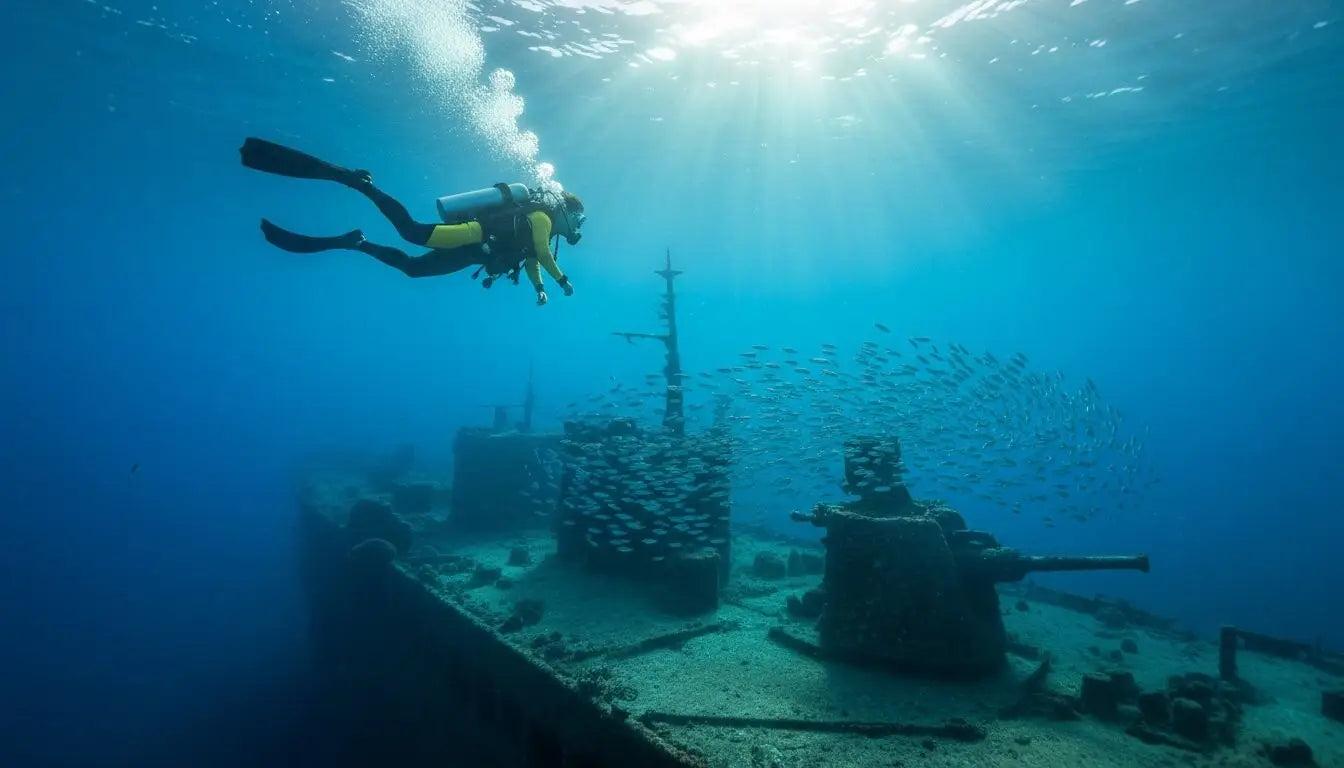
The C-53 wreck. Structure, silhouettes and divers for scale.
The Boat Matters More Than The Course
This is the part no course covers and it decides whether you get anything usable.
Group size determines whether you can stop. On a boat with twelve divers, the group moves at group pace and you get seconds with any subject. On a boat with four to six, a guide can hold the group while you work a shot.
Ask before booking whether the guide is comfortable with a photographer working at their own pace. Some operators are set up for it and some are not. Neither is wrong — but you want to know which you have booked.
Cruise-schedule operators are the wrong choice. A boat that must be back before all-aboard cannot slow down for you, whatever they say at the dock.
A good guide is a photographer's biggest asset. They know where the toadfish sit, which ledge the moray uses, and where the turtles feed. That is worth more than any equipment.
Our dive center guide covers how to identify a small-group operator, and the full listing shows who runs them.
Equipment, Realistically
You do not need an expensive setup to learn.
An action camera is a legitimate starting point. Fixed wide lens, no manual control over much, but it teaches you the two things that matter most — get close, and shoot slightly upward. Add a red filter for natural-light shooting in the useful depth band and it improves immediately.
A compact in a housing adds manual control and the option of a single strobe. This is where most people find their limit is skill rather than kit.
Mirrorless or DSLR in a housing is a serious investment and worth it only once buoyancy and composition are solid.
A single strobe or video light transforms results more than a camera upgrade does. Colour at depth comes from light you bring with you.
The general rule: the camera is rarely the limitation. Distance to subject, buoyancy and light are.
Rules That Are Not Optional
The entire dive area sits inside a national park, and the rules exist because photographers are the divers most likely to break them.
Do not touch, move or reposition anything to improve a shot. Not coral, not a subject, not a sea star.
Do not chase. A turtle that swims away has been harassed, not photographed.
Watch your fins. More reef damage is done by photographers steadying themselves than by anything else on a dive.
Limit your strobe on shade-dwelling animals. Two or three frames on a toadfish, then move on.
No flash on hatchlings or nesting turtles — light disorients them.
A guide who calls you on any of this is doing their job.
Which Course To Take
PADI Digital Underwater Photographer and the SSI equivalent both cover the fundamentals over two dives, and either is a reasonable use of a day.
Peak Performance Buoyancy first if your buoyancy is not solid. It will do more for your photographs than the photography course will.
A private guide for a day is the underrated option. One dive with someone who knows where the subjects are, at your pace, teaches you more about photographing this island than a generic curriculum does.
The full course catalogue lists what is available across both agencies.
The Short Version
Cozumel is forgiving — clear, warm, and full of large cooperative subjects.
Get close, fix your buoyancy first, bring light if you can, and book a boat small enough that you are allowed to stop. The camera is the least important variable.
Frequently Asked Questions
Is Cozumel good for underwater photography?
What should I learn first for underwater photography?
Do I need an expensive camera to start?
Why do my underwater photos look blue?
Do red filters work in Cozumel?
What is the best subject to photograph in Cozumel?
Will a dive operator let me stop and take photos?
What are the rules about touching marine life for photos?
Share This Article
Carmen Novelo
Carmen Novelo is a Cozumel native and an active scuba instructor and dive guide on the island. She has spent twelve years diving the Cozumel reef system, and writes about its dive sites, conditions and marine life for Cozumel Dive Hub.